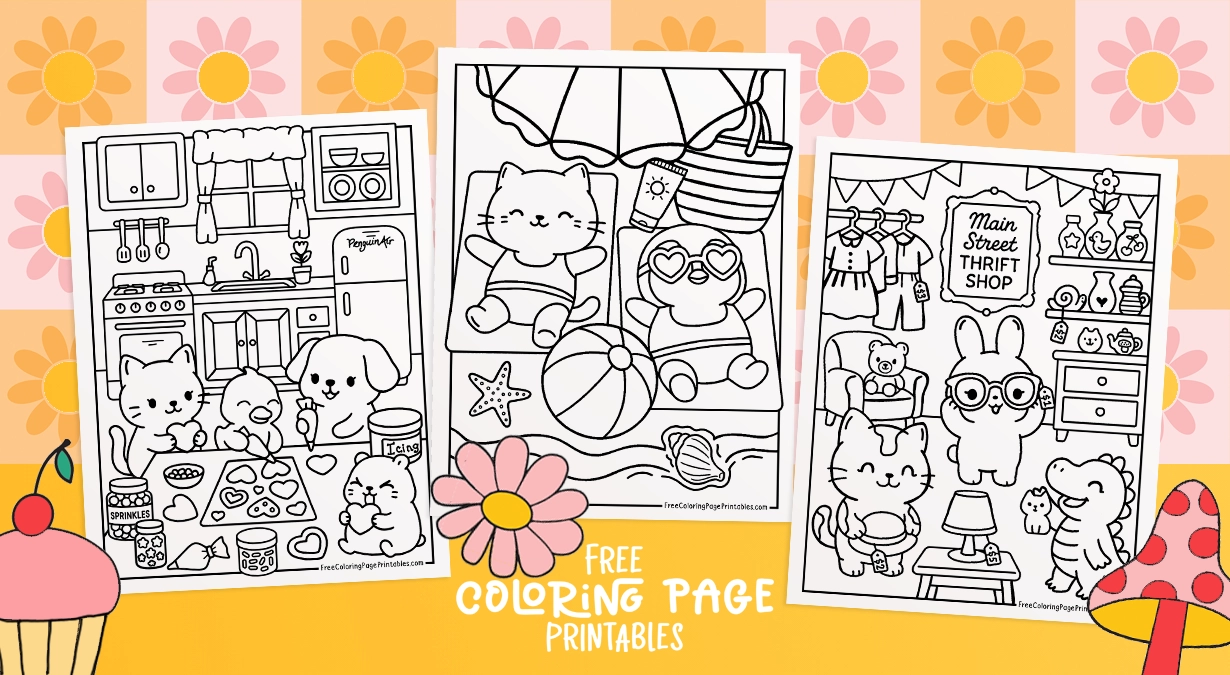
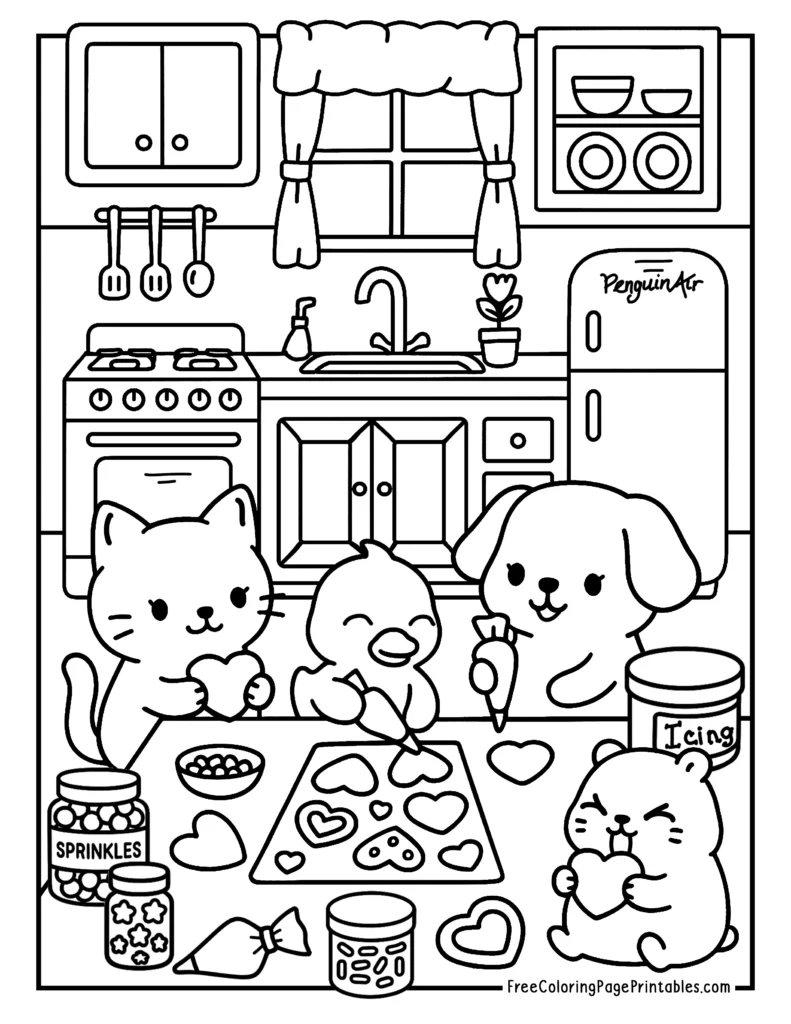
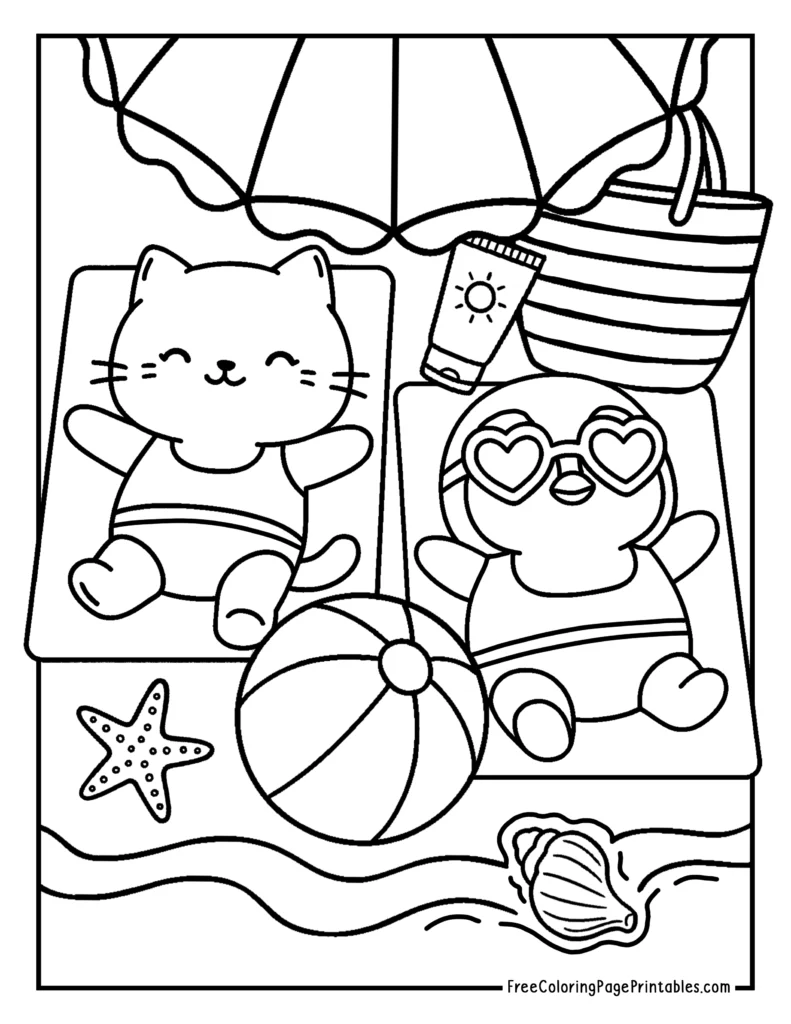
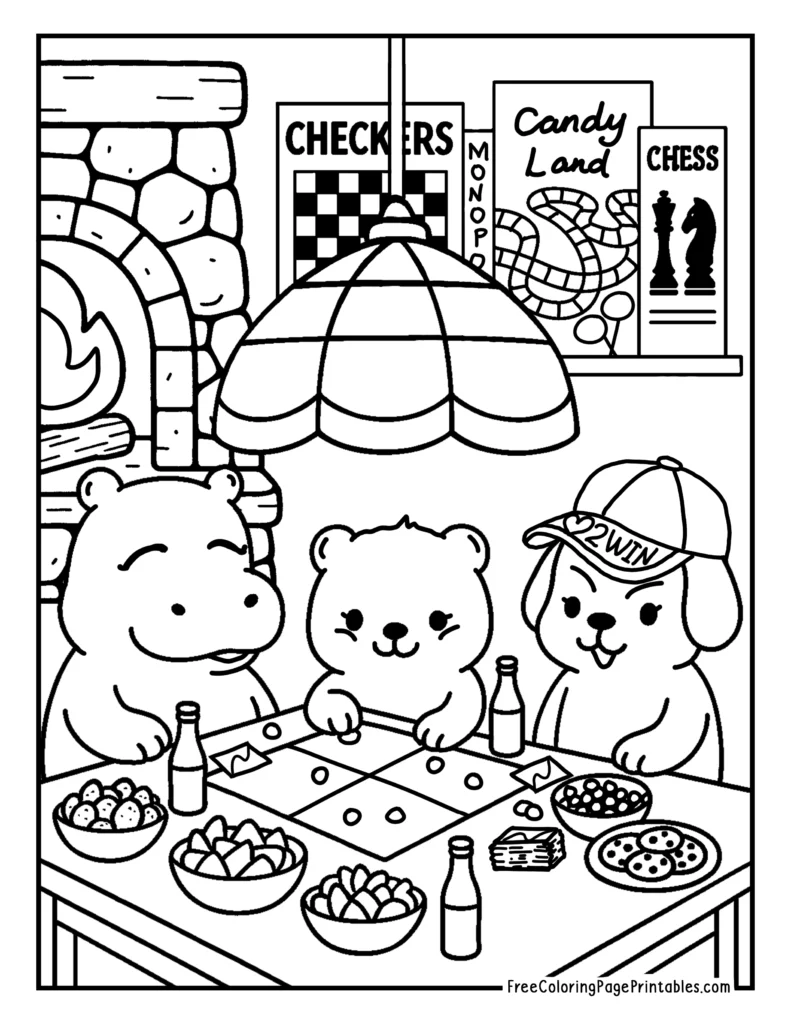
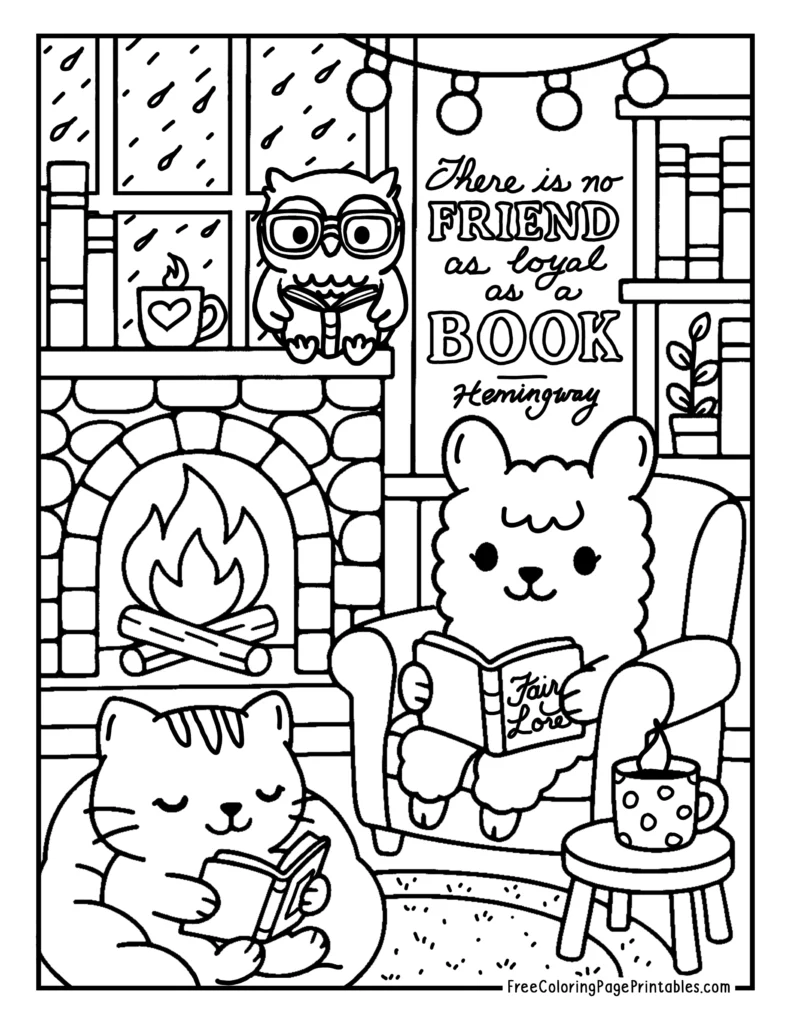
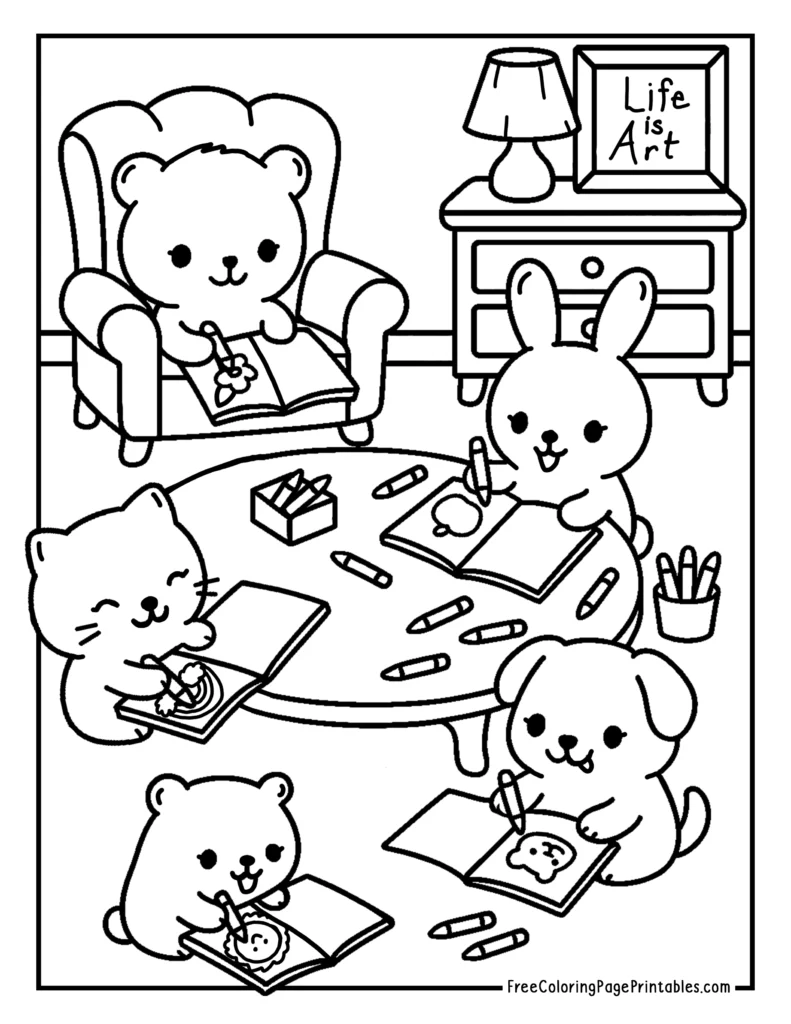
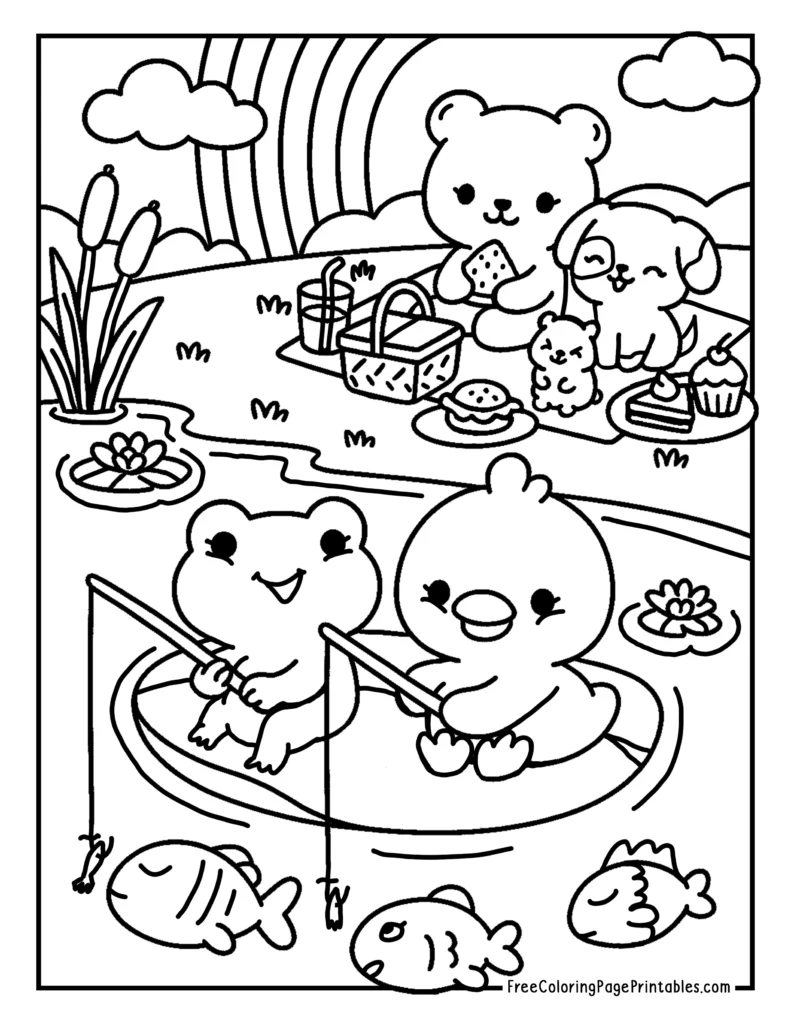
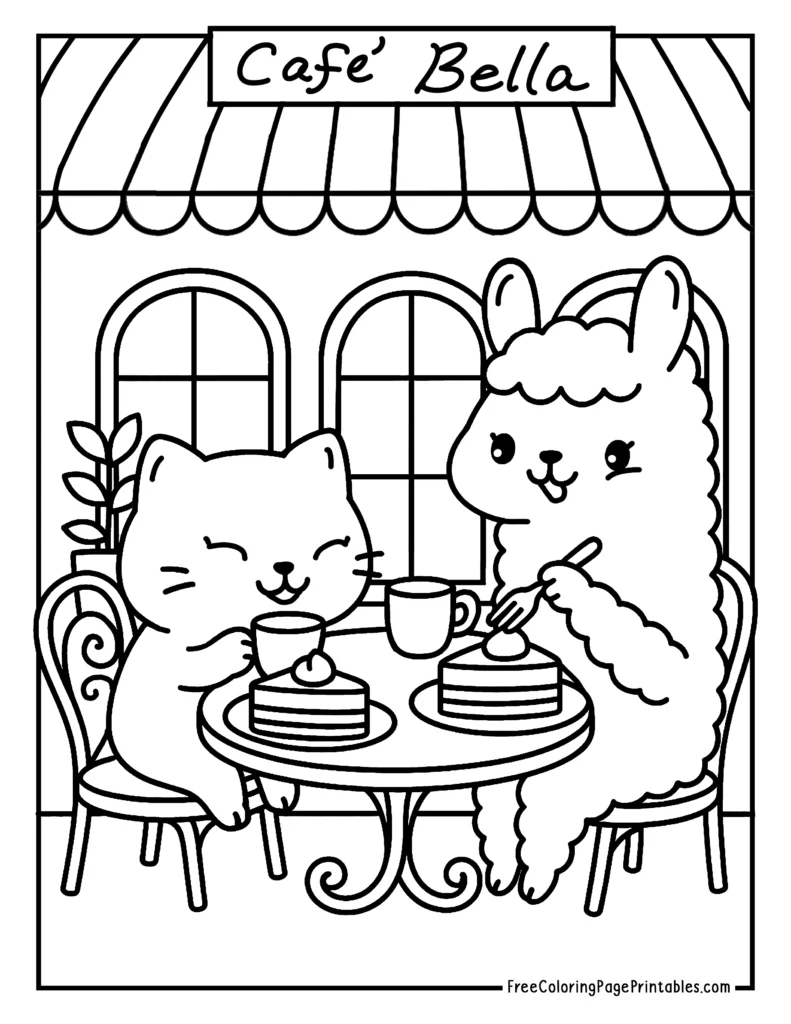
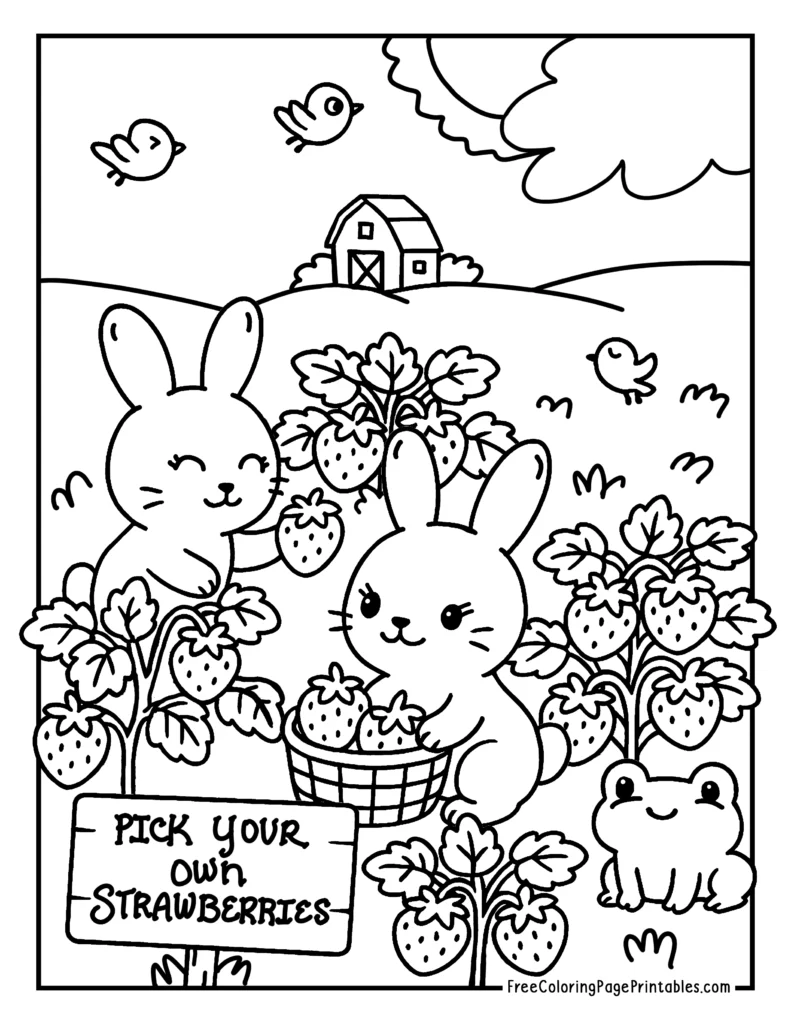
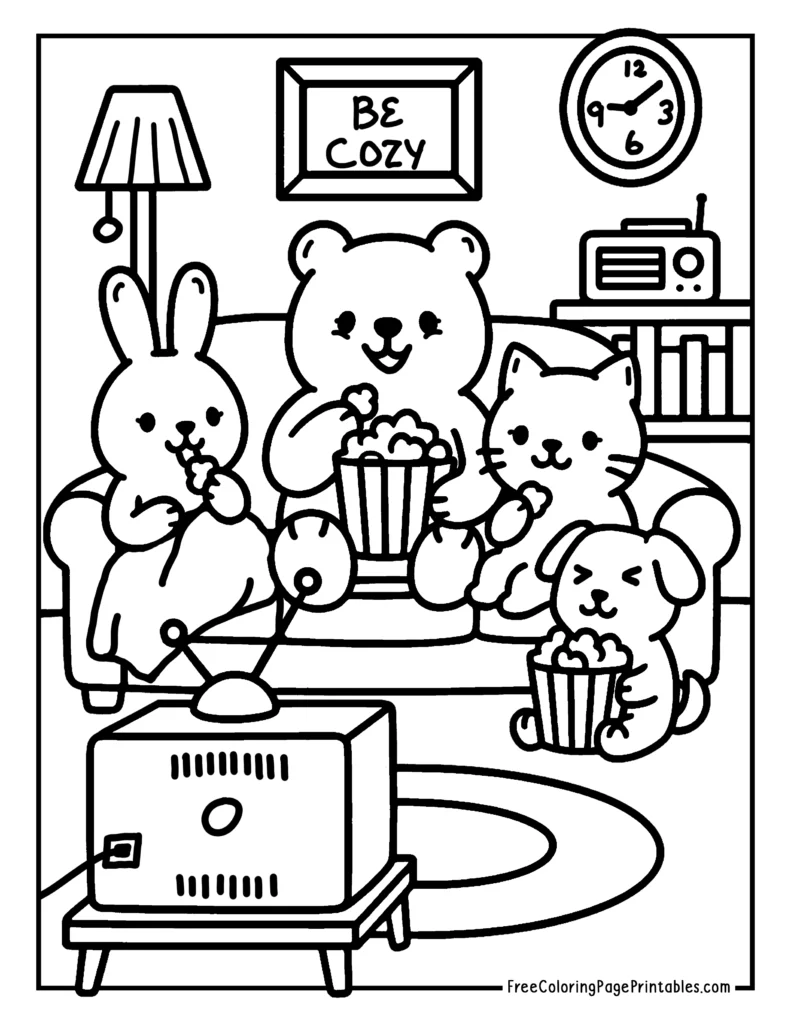
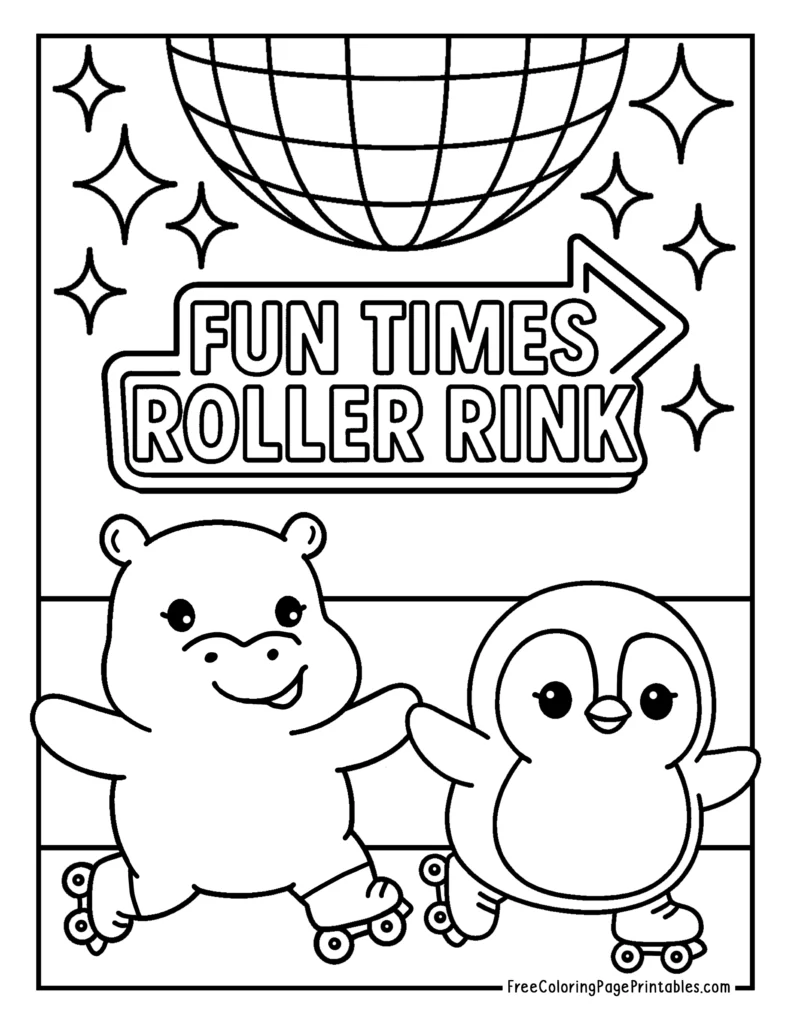
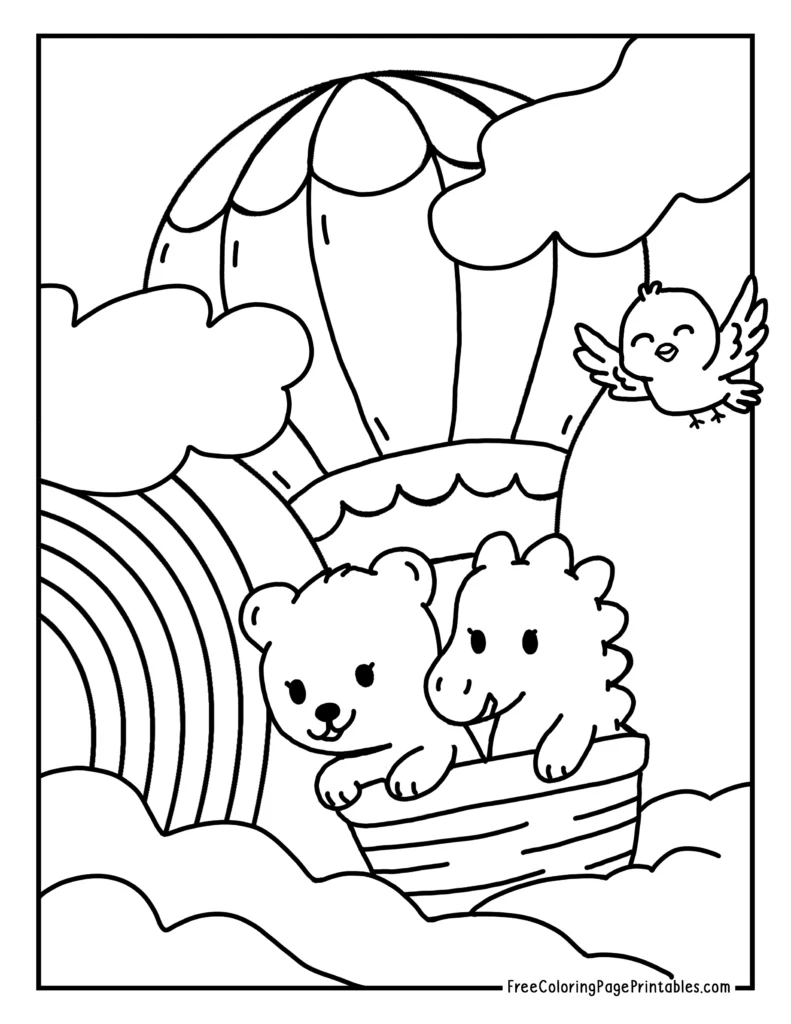
Get ready to color your way through the fun and cozy adventures of a pack of cute animal friends living life to the fullest! Each one of our Cute Animal Coloring Pages invites you into a charming little world where furry pals enjoy game nights, movie marathons, cafe desserts, and cookie-baking fun. You’ll also find them thrifting treasures, picking strawberries, sunbathing on the beach, sharing a picnic, reading together in a cozy library, along with other fun and lively activities.
With thick, clean lines and heartwarming scenes, this collection of Cute Animal Coloring Pages is like a warm hug in coloring form—perfect for anyone who loves the cozy and bold and easy style coloring books currently popular!

Alcohol markers have become a favorite among coloring enthusiasts, and for good reason! Their vibrant, saturated hues, smooth blending, and professional finished appearance are a thrilling alternative to the more muted coloring experience that colored pencils provide.
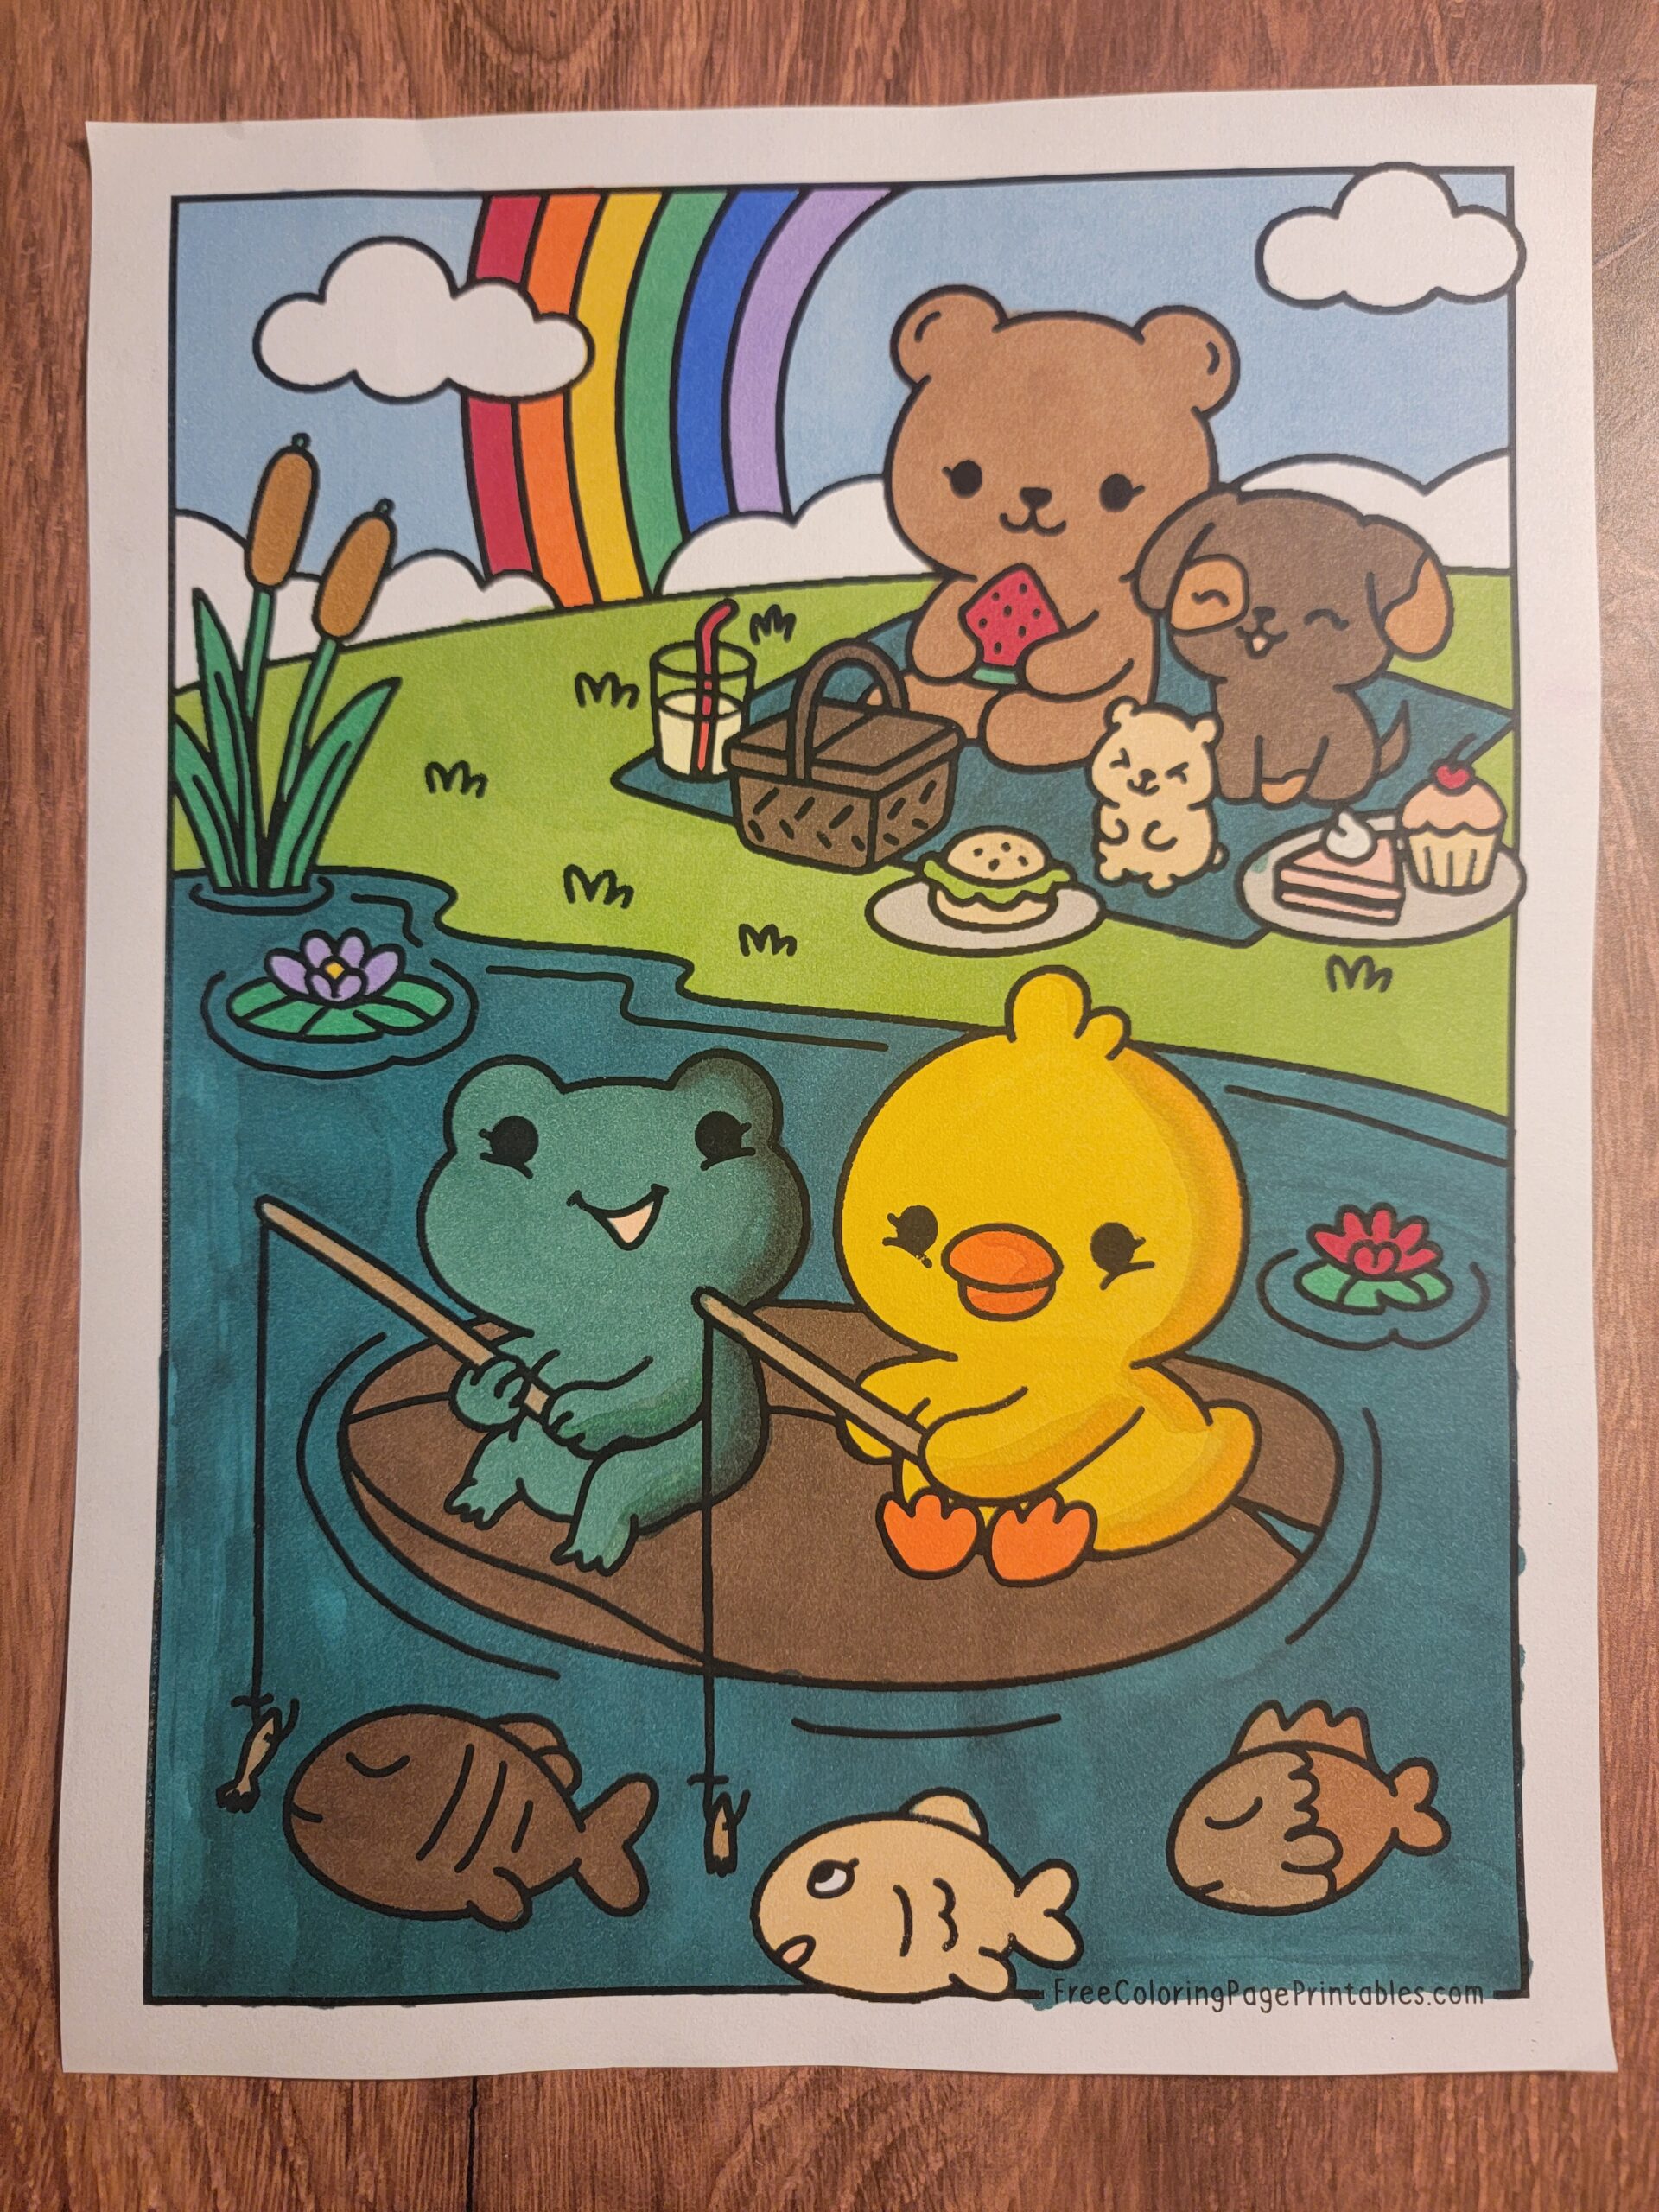
My ten-year-old loves using alcohol markers! Here are two of the pieces she colored from our Cute Animal Coloring Pages Collection:
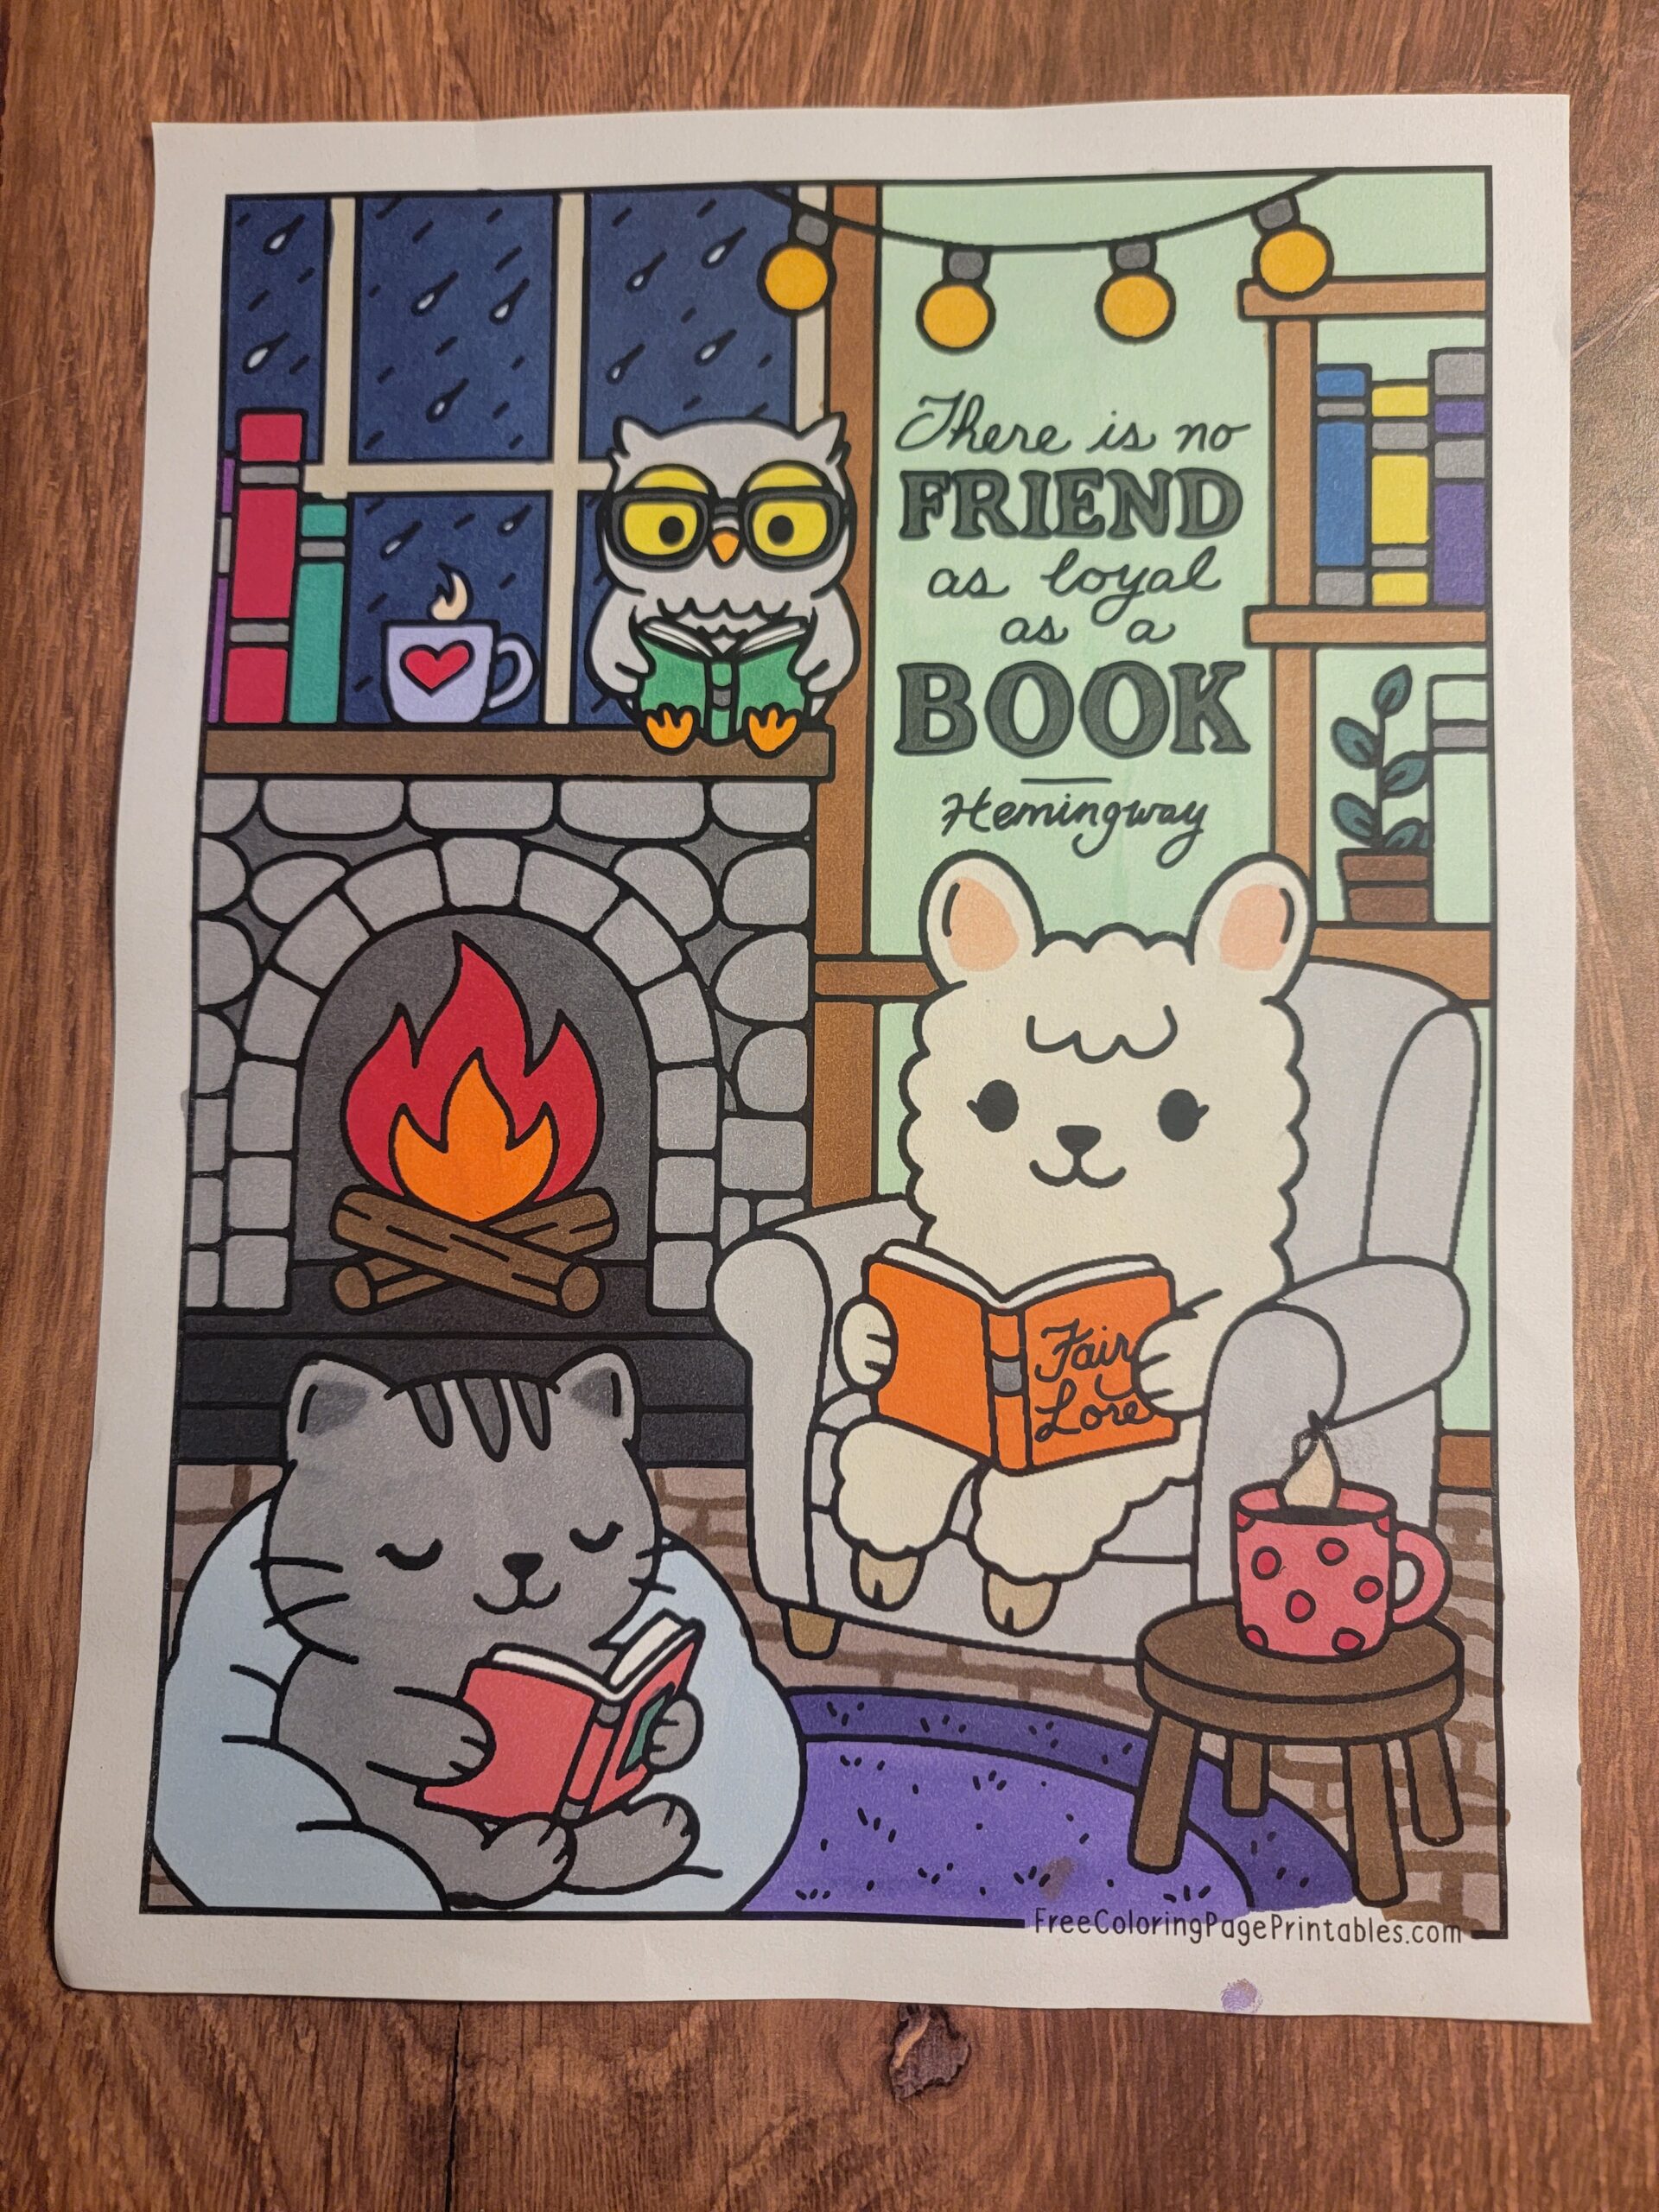
Alcohol markers are really fun to use! Whether you’re new to coloring or looking to level up your marker game, this guide will walk you through some basic techniques for using alcohol markers successfully.
Why Alcohol Markers?
Unlike water-based markers, alcohol markers use an alcohol-based ink that dries quickly and layers beautifully without damaging the paper. This makes them ideal for blending, shading, and creating smooth gradients.
While alcohol markers vary in price and nib design, the techniques below apply across most brands.
1. Choose the Right Paper
Start with smooth, thick, bleed-proof paper designed for marker use. Look for:
- Marker paper: Specially coated to prevent feathering and bleed-through.
- Bristol board: A smooth and sturdy alternative.
- Blending card stock: A favorite for cardmakers and illustrators.
Avoid standard printer paper—it soaks up too much ink and won’t allow blending.
2. Basic Coloring Technique
Use even, overlapping strokes for flat color application. Here’s how:
- Work in small sections to avoid streaks.
- Move in a circular or side-to-side motion to keep ink wet and even.
- Apply two or three layers for full saturation.
3. Blending Basics
Blending is where alcohol markers shine.
How to Blend Using Light to Dark:
- Start with your lightest color and saturate the area.
- Add the mid-tone color where you want shadows.
- Apply the darkest tone sparingly for depth.
- Go back over the entire area with the lightest shade to blend.
How to Use a Blender Marker:
A colorless blender alcohol marker doesn’t “blend” so much as push pigment. It is used to lighten or soften colors applied with other alcohol-based markers. It doesn’t add color itself but helps:
- Smooth transitions between different shades.
- Fade out edges for a gradient or soft effect.
- Fix small mistakes or push color away from an area.
- Create highlights by lifting some pigment.
It works best on marker paper and should be used while the ink is still a bit wet for optimal effect.
4. Layering (also known as “building up color”)
Layering is the process of applying multiple layers of the same or different alcohol marker colors over each other to intensify color, smooth blends, or build shadows. You can use the layering technique to:
- Increase saturation and richness of a color.
- Darken an area gradually without jumping straight to a darker shade.
- Create smoother blends between tones (especially when using similar hues).
- Reveal shape and depth through gentle shifts in color.
How to Layer:
- Start with a base layer (your lightest shade).
- Let it dry slightly (alcohol evaporates fast!).
- For any areas where you want to create deeper shading and depth, layer more of the same color (or a slightly darker one in the same color family). Example: Color a shirt with a light blue. Let it dry, then add another layer in the folds and edges to create shadows. This builds form and contrast.
5. Glazing (also known as “overlaying”)
Glazing is the technique of layering a different color (usually transparent) over an existing dried layer to subtly change its tone or hue. You can use the glazing technique to:
- Make a color warmer or cooler.
- Mix new colors without needing a new marker.
- Add soft effects or glowing light.
How to Glaze:
- Lay down a base color and let it dry.
- Choose a different transparent color and apply it lightly over the top.
- The colors will visually mix (like a transparent filter), creating a new tone. Example: Lay down a pale yellow. Once dry, glaze a light pink over it to get a peach tone in that area—rather than using a pre-mixed peach marker.
6. Feathering Technique
Feathering helps you blend two colors smoothly:
- Choose two colors that look good together. It can be two markers in lighter and darker shades of the same color, or two different coordinating colors.
- Start with the lighter color, and flick it out in short strokes, like soft feathers, going in the direction you want the blend. Then take the second color (darker or different) and flick it from the opposite direction, overlapping the first color where they meet.
- Go back and forth a little with one or both of the colors, if needed, to soften the edge where the colors meet.
Note that this technique works the best when the ink is still wet!
7. Using Grays for Depth
Using gray alcohol markers is a great way to add depth and make your coloring look more 3D. You can lightly shade areas that would be in shadow using cool or warm gray markers before layering your main color on top. This makes the color look richer and helps objects stand out more, like making something round look round or adding shadows under things. Think of it as drawing with light and shadow—gray helps you show where the light isn’t hitting as much.
- Cool grays add shadow to cooler hues like blues and purples.
- Warm grays work better with reds, oranges, and yellows.
- Layer grays under colors to create realistic shadows or over colors for a muted effect.
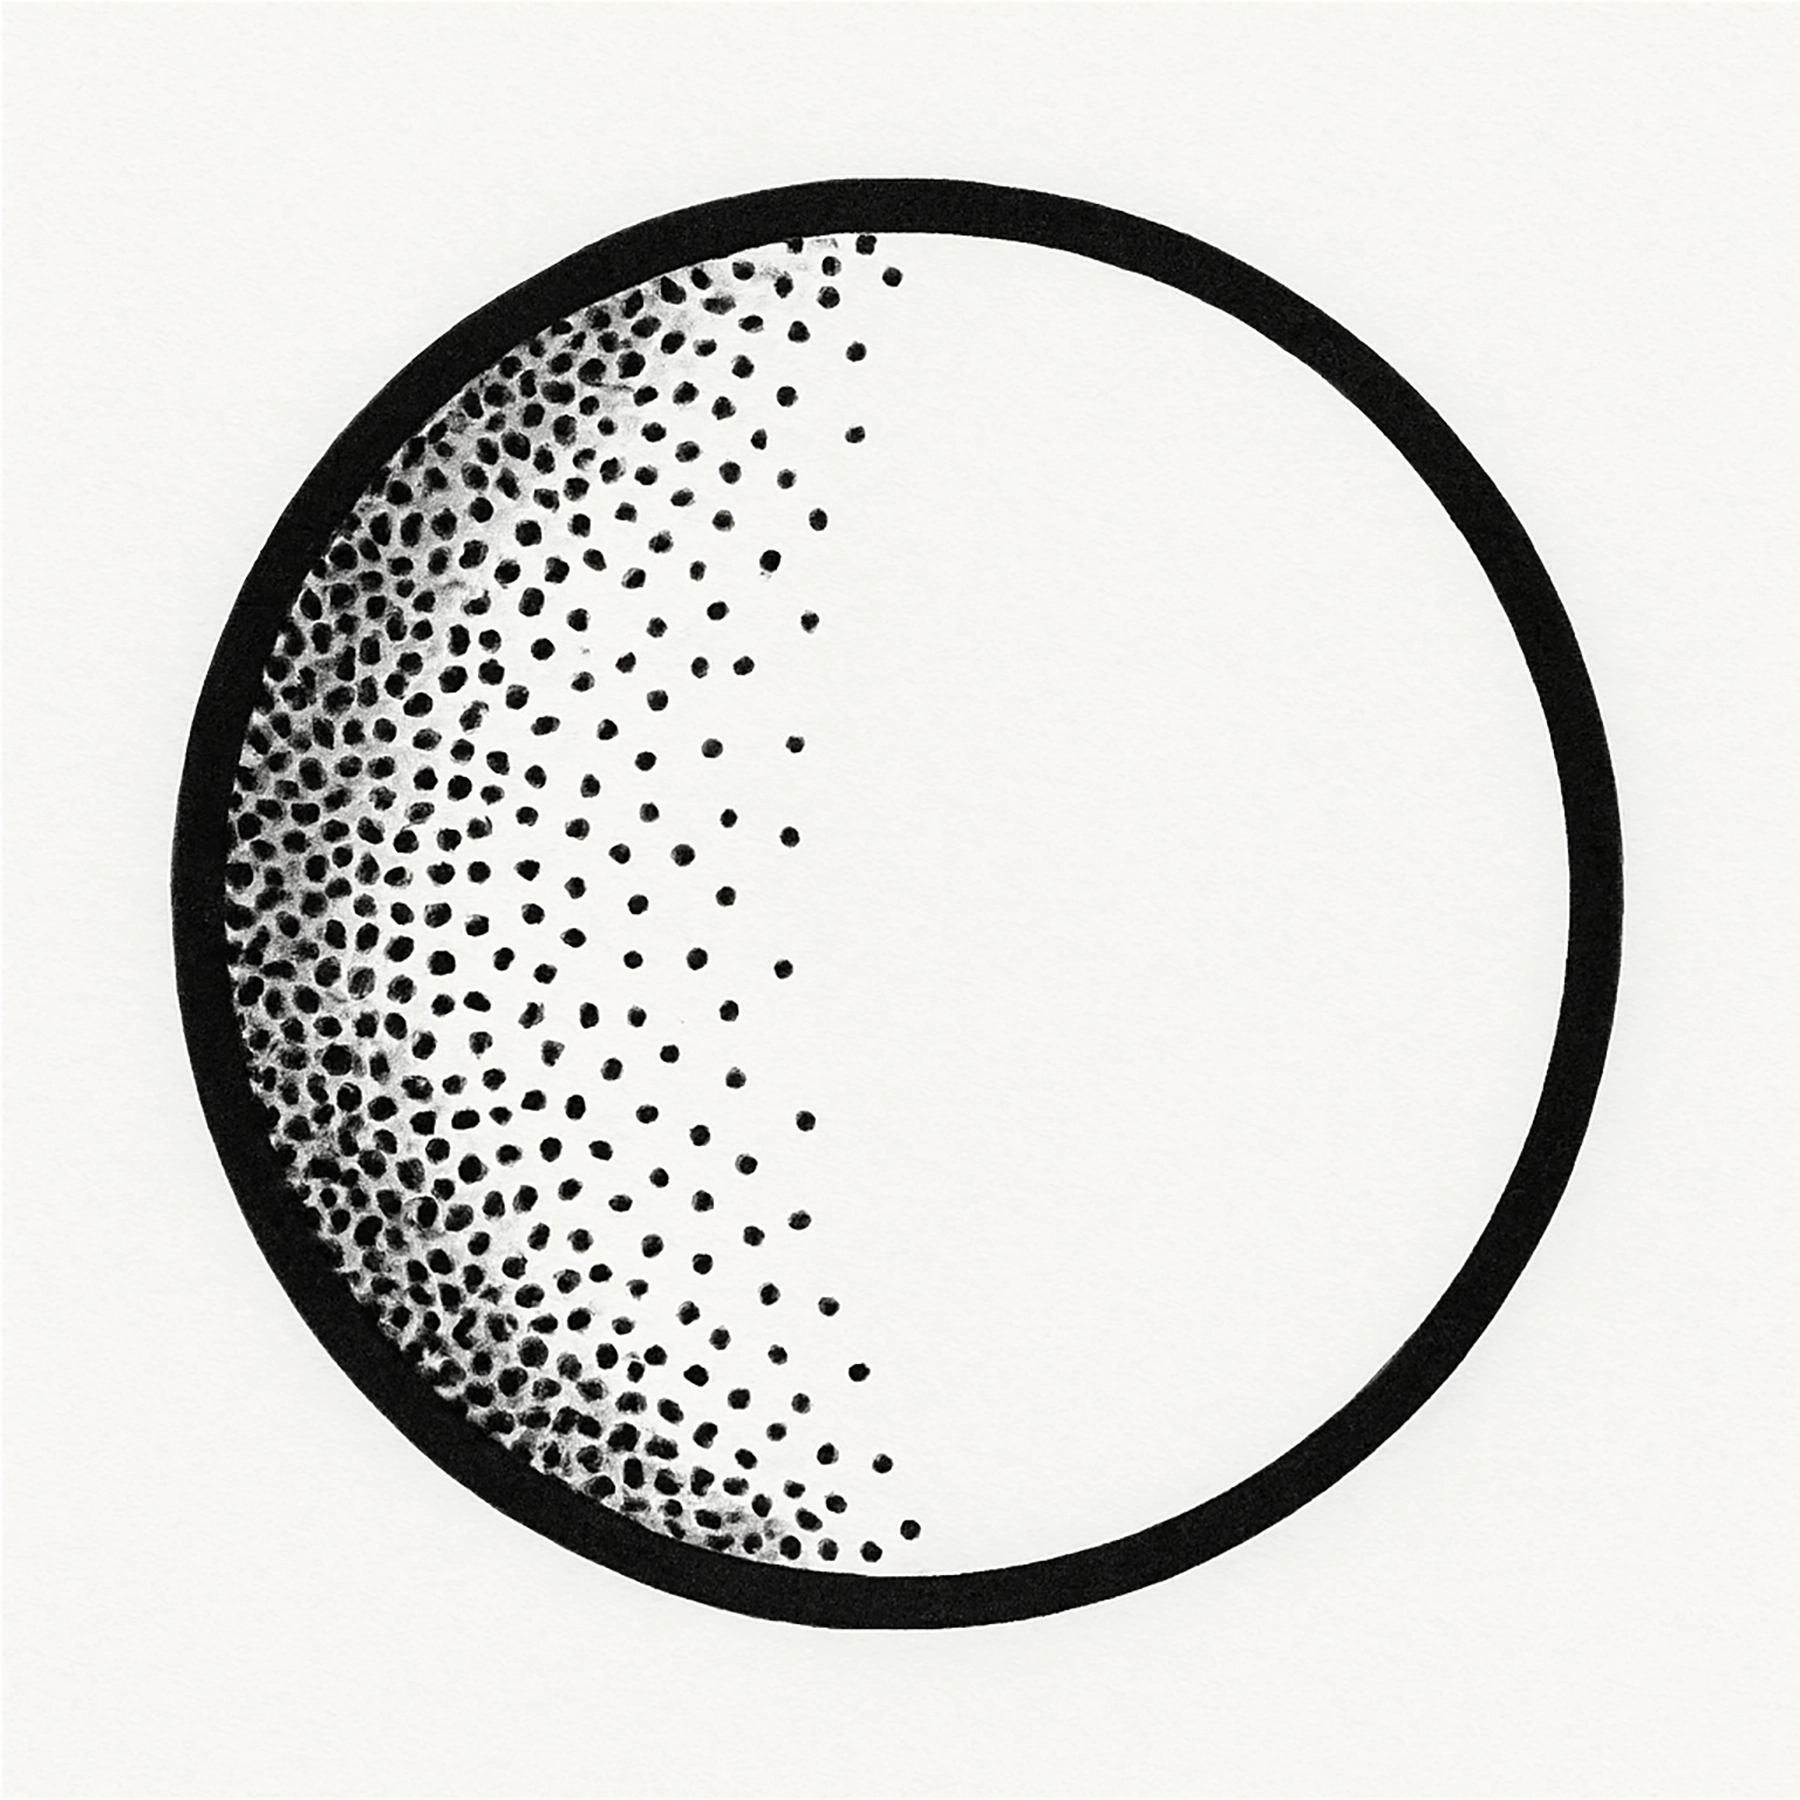
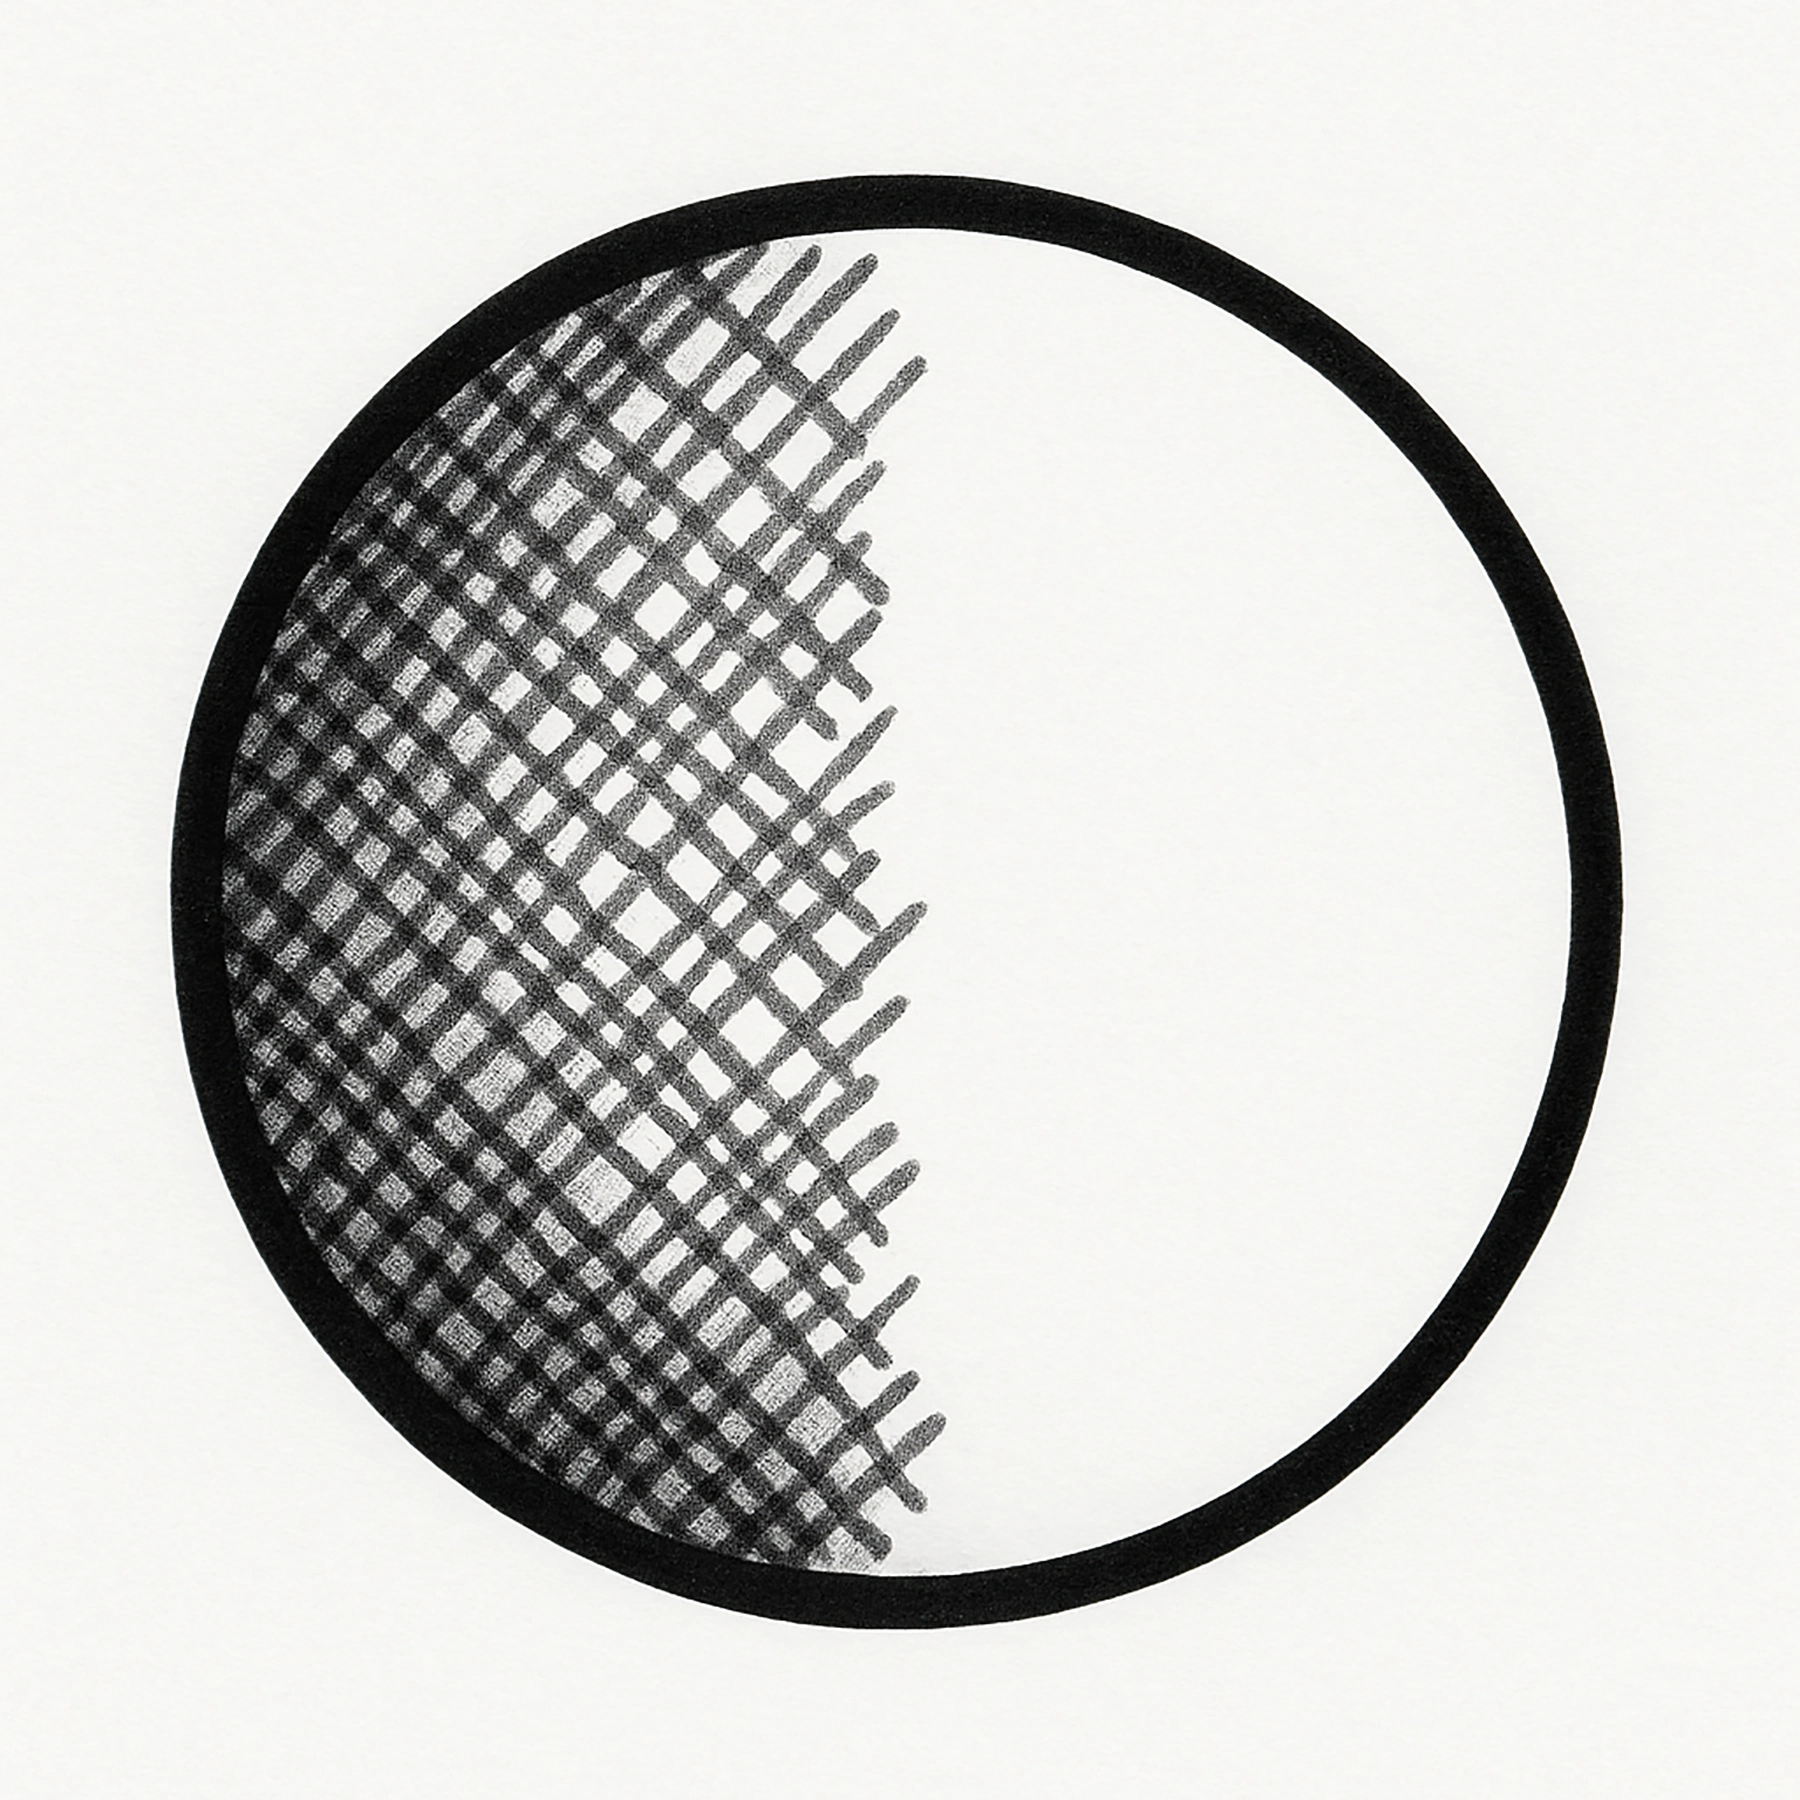
8. Texture Techniques
You can create texture and effects for added realism:
- Dotting/Stippling: Use small dots for texture in fur or foliage.
- Crosshatching: Draw overlapping lines in different directions to create texture and shading.
- Blender Marker or Rubbing Alcohol on a Cotton Swab: Press gently onto the inked area to lift color and create a textured effect (great for clouds).
9. Avoiding Common Mistakes
- Streaks: Work quickly and with even pressure. Keep your nib moist.
- Bleeding: Don’t overwork one area. Use the right paper.
- Over-blending: Too much blending can dull colors and oversaturate the paper.
10. Cleaning and Care
Take care of your markers:
- Cap them tightly to prevent drying.
- Store them horizontally to distribute ink evenly.
- Clean nibs gently with rubbing alcohol if they become sticky or dirty.
Practice Makes Progress: Print Out Some Cute Animal Coloring Pages and Try These Techniques!
Alcohol markers have a learning curve and take time and practice to master. Here are some resources to help you as you practice:
- Understand the basics of Color Theory to learn how your marker colors will interact with each other. Color theory starts with the color wheel, which includes primary colors (red, blue, yellow), secondary colors (made by mixing primary colors), and tertiary colors (mixes of primary and secondary colors). Colors are grouped into categories like warm (red, orange) and cool (blue, green). Complementary colors sit opposite each other on the wheel and create strong contrast, while analogous colors sit next to each other and blend well. Understanding color theory helps colorists choose color combinations that will blend or coordinate well with each other.tart with simple shapes to practice blending.
- Use reference photos to improve your understanding of shading and lighting.
- Visit Youtube and search for tips and tutorials on using alcohol markers to create a lot of fun effects! Sometimes the visual demonstration is worth its weight in gold when you are learning a new skill.
Above all, remember not to take the learning process too seriously! Coloring is about fun and creativity, not perfection!